4 days ago, I finally had time to put my capacitors on a styrofoam block. (awesome idea from that video.) The kids helped. It was kinda fun. I'd find a cap, start it, and they'd push it the rest of the way in.
Sunday, I got my light-on-a-stick, and assembled my tools.
Tuesday, finally, I had my opportunity... Everyone was downstairs.... the kids were playing nicely in the castle, the wife was on the couch reading a book, and so I snuck off.
Unhooking the cables was a snap. I had to use a stubby phillips head to get the 2 screws in the back out. And, I had to sit on a stool, and turn my head halfway up the game just to see the lower screw in the back. Almost stripped that one's head, but, I finally got them. The nuts in front were simple.
One note that wasn't in the guides was that, on the neckboard, there is a little "V" of plastic out the back that is the actual connector. I kept wiggling the board itself, and things weren't moving. Then, I tried the "V", and it worked great.
Here's my "workstation", LOL. That's newspapers on a vintage 70's TV tray, LOL.

Damn, some of the caps on that board are _really_ wedged in tight. Can you say, disgusting mess?

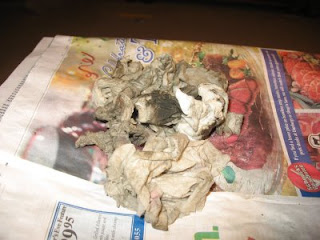
10 paper towels and 4 ounces of LA's Totally Awesome later...

Look at that. Purdy. Everything on that board, once cleaned a bit, looks like "the day it was installed", save for some surface rust on the metal surfaces. Mmmm, nachos!

But, I got in there and got the job done. (Nuts in place, screws not yet...)

But.... ARGGGGHHHH!!!! The Turbo STILL plays blind. Before the cap kit, these lines were just part of a bigger annoyance of a faded screen that collapsed into a vertical line straight down the center.

Can anyone help???


No comments:
Post a Comment